Opening Moves: Die zweite Welle mit Blogeinträgen
Wie nicht anders zu erwarten war, haben die Mitarbeiter von Blizzard Entertainment im Verlauf des gestrigen Abends tatsächlich eine zweite Welle mit Blogeinträgen aus ihrem neuen Projekt „Opening Moves“ auf den Communityseiten ihrer verschiedenen Computerspiele veröffentlicht. Diese unterschiedlich langen Artikel beschäftigen sich selbstverständlich auch weiterhin mit den eSports-Szenen der entsprechenden Titel und liefern den Lesern sowohl allgemeine Informationen zu bestimmten Situationen als auch nützliche Tipps von professionalen Spielern. Wer die ersten Artikel aus dieser Reihe mochte und sich nun noch weiter mit diesem Thema auseinandersetzen möchte, der kann sich folgend alle Blogeinträge aus der zweiten Welle dieser informativen Serie durchlesen.
Die gestrigen Artikel aus der Reihe „Opening Moves“ drehten sich um die folgenden Themen:
- Hearthstone: Ein Deck mit Karten füllen
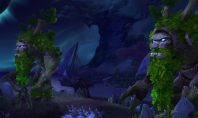
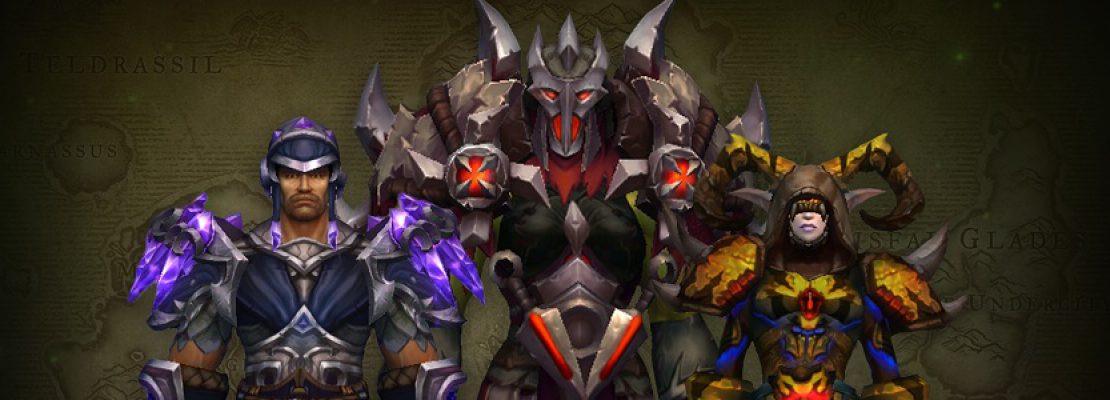
- World of Warcraft: Wie positioniert man sich richtig?
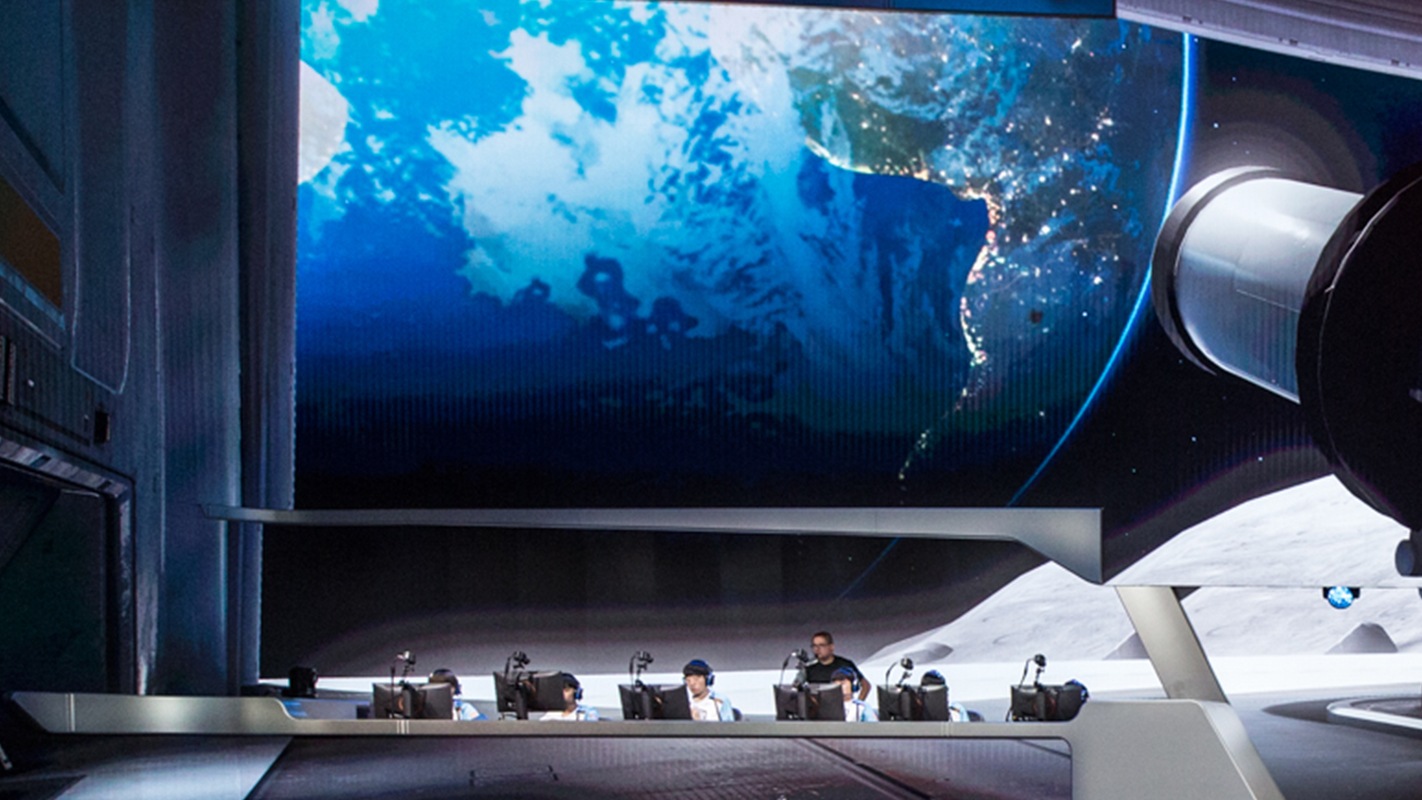
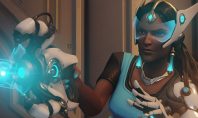
- Overwatch: Das Verteidigen der Mondkolonie Horizon
- Starcraft 2: Das verwendete Volk bestimmen
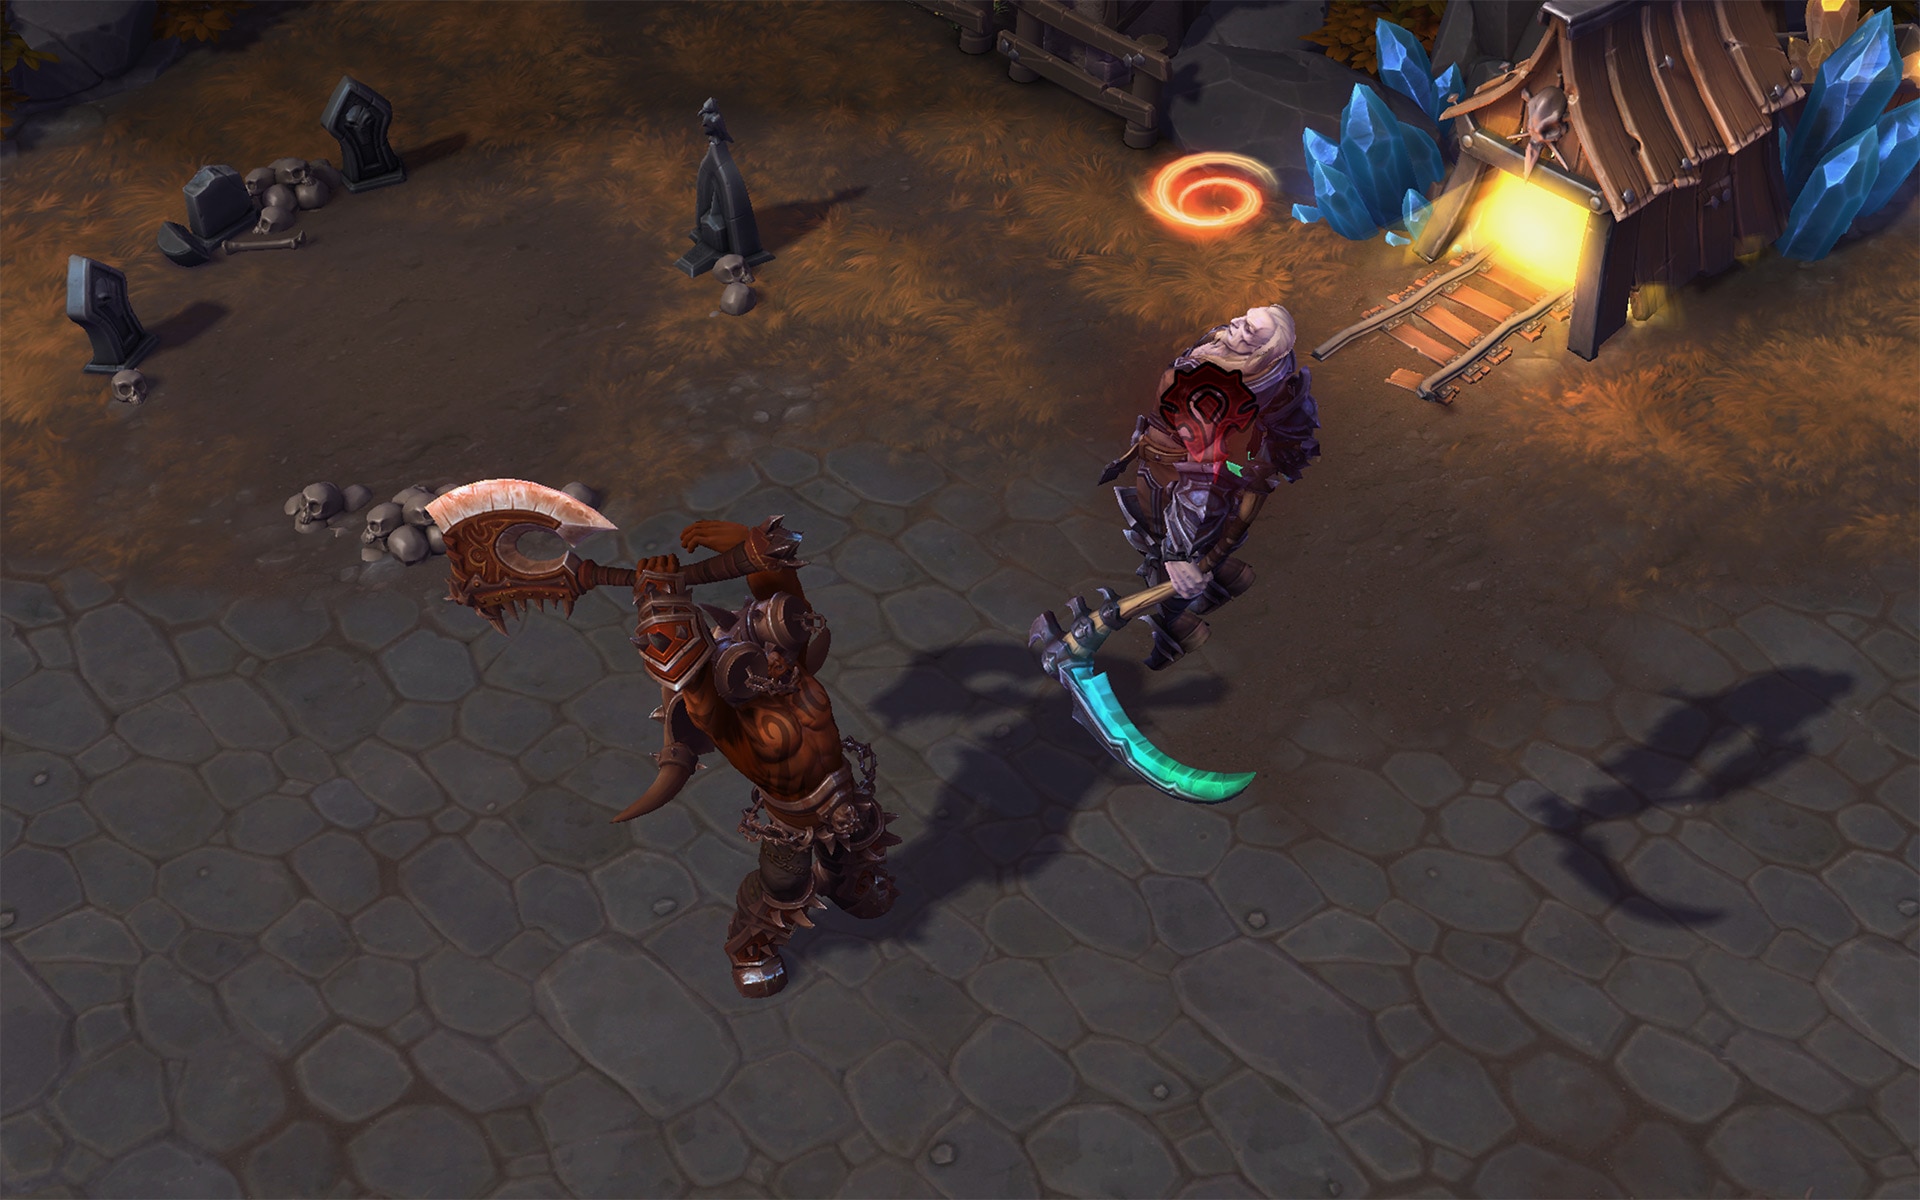
- Heroes of the Storm: Der erste Kampf auf Stufe 1
Opening Moves: Filling a Deck
Now that you’ve identified your win condition, it’s time to finish building your competitive deck.
While finding that cool combination that will end the game in style is great, the real skill to building a deck isn’t figuring that out—it’s finding the cards to surround them with that will allow you to pull it off! Each class has slightly different tools to manage this, so understanding what your chosen class can and can’t do is important. If you’re looking to build a Hunter deck and have chosen a handful of Hunter spells as your way to finish off your opponent, you’ll quickly discover that there aren’t many reliable ways for Hunters to draw additional cards—so you can’t guarantee you’ll be able to find those spells after all. Back to the drawing board!
Finishing Your Deck
Figure out what plan your deck has—the task of the specific deck. When you play a bunch of games, if a card doesn’t work, you replace it. Think about how another card would fit into that spot in the deck.
The cards you are using for your win condition will determine how you round out the rest of your deck. If you want to play aggressively and win with multiple minions on the board, there’s no time to waste drawing cards—if you run out of gas (cards) in the tank (your hand), your win condition didn’t work out that time. If you’re looking to stall for a fatal combo or just hold the line to deny your opponent’s win condition, you’ll be looking for spells to clear the board, or ways to heal yourself or armor up. Exactly what you end up using to diffuse situations like these will depend on your class.
As an example, let’s say that your free Death Knight from Knights of the Frozen Throne was Uther of the Ebon Blade. The win condition is built in: If you have all four Horsemen (summoned one at a time by your Hero Power), you win the game automatically. Cool! But how are you going to survive until you draw Uther of the Ebon Blade, play him, and manage to use your Hero Power four (or more!) times?
You might decide that you want to try and pull off multiple Hero Power uses in a single turn and add Auctionmaster Beardo—that’s a good start. You’re going to need cheap spells to activate Auctionmaster Beardo’s effect, too, so cards like Burgly Bully or Hydrologist look good. None of these cards can be played until you’re ready to end the game, though, so you still need to fill in that space. Paladin doesn’t have much in the way of card draw, so you’re probably looking for a mixture of the things Paladins do best—putting down powerful Taunt minions and using a variety of heals to stay afloat! With cards like Forbidden Healing, Wickerflame Burnbristle, Spikeridged Steed, Sunkeeper Tarim, or Ragnaros, Lightlord, you’ve suddenly got a mixture of tools that might just do the trick.
Tomorrow we’ll queue up against an opponent with our killer new deck, and make our first game-time decision—what to keep in the mulligan!
Opening Moves: Preparing the Front
 This article is a part of our Opening Moves series, where we talk to World of Warcraft esports pros about the meta-game and strategy behind the beginning of every match. Read part one here.
In a game of chess, opening moves are made with the intention of gaining control over key areas of the board, protecting the King, providing mobility for friendly pieces, and creating opportunities to capture opposing pieces. These goals are also present in World of Warcraft Arena matches, and in each game, player or unit positioning is one of the most crucial elements to understand in order to gain and maintain control of a match.
In the context of WoW Arena, “positioning” refers to a player’s location relative to their teammates, their opponents, and obstacles on the map. All three of these considerations must be taken into account when analyzing a player’s position. In order to understand the importance of positioning, let’s take a closer look at each of these elements individually.
Position Relative to Your Teammates
The most important thing to be aware of in an Arena match is the position of your teammates. “If you relate it back to chess, your team’s healer is essentially your King piece”, says Method Synergy’s Ryan “Trill” Costello. Healers typically play further back in the field, where they can’t be easily stunned or interrupted, but still within the 40-yard healing range of their teammates.
As a damage dealer, it’s important to remember that your healer will have to move as you do to stay in range, which could be dangerous. “There’s not much worse than getting out of position in a match,” said Jason “Pika” Smith. “It drags everyone into a risky position, which might result in your healer getting CC’d, interrupted, or swapped to.”
Position Relative to Your Opponents
Simultaneously, you’ll need to be aware of your enemies’ position—and how you can use it to your advantage. Alex “Alec” Sheldrick, described one strategy for accomplishing this. “As the Mage on a caster cleave team, my goal is often to draw the enemy melee out into “no man’s land. Once they begin to overextend, my melee moves in behind them to “zone out” their healer and apply pressure.”
Think about your team’s capabilities and win conditions, and consider how you can force the enemy to play into your strategy.
Position Relative to Map Obstacles
Equally important to consider is your team’s position relative to the obstacles on each map. Obstacles can be used to break enemies’ line-of-sight, allowing you to avoid damage and CC. “No amount of damage you take is trivial when you think about your healer’s mana pool,” says Trill. “Knowing when to use obstacles to avoid unnecessary damage can make a big difference later in the game.”
Often times, healers will opt to play close to an obstacle on the map, such as one of the four pillars in Nagrand Arena, so that they can break their opponents’ line-of-sight to avoid being targeted. While these obstacles provide relative safety, Alec says they don’t give as much of an advantage as most players think. “Every time you peek, you’re in danger—if the fighting is close by. Consider playing in the open field at maximum range. Your enemies will have to move further to target you, giving you more time to react.”
“Positioning is the most important thing that’s not properly understood or discussed by most players. It’s not obvious to think about at first, but as you gain more knowledge and game experience, you’ll be able to tell what’s working!” – Alec
There are seemingly infinite factors to think about in the Arena, but establishing strong fundamentals, like positioning, will do wonders for increasing your game sense and skill level. Be on the lookout for the next entry into our Opening Moves series, where we’ll discuss the importance and power of cooldowns with professional World of Warcraft Arena players to help level up your play.
Opening Moves: How to Know If You’ll Win the Level 1 Fight
It’s #OpeningMoves week! Every day this week we’ll be detailing the early game of Heroes of the Storm. Yesterday we published a guide to the 4-1 split, and today Michael Udall is going to let you know whether or not you will win the fight at level 1.
Ever taken a look at your team’s composition before the gates have gone down and decided right then and there that you what you’re working with is too fragile for an early brawl? Save for having a few key Heroes on your side, Gale Force Esport’s Michael Udall would likely agree with you.
“You’re looking for Heroes with displacement like Alarak, Stitches, or Garrosh,” Udall said. “At level 1 people don’t have tools to save themselves. If someone gets hooked or someone gets Garrosh-tossed or someone gets pulled by Alarak, they are pretty much dead, assuming they have the follow-up. I mean, even Junkrat can displace enemy Heroes. If you’re looking to win the level 1 fight, those are the type of Heroes you should be looking for.”
When you’re loading into the game and you can see the full compositions of both teams, it’s generally a good rule of thumb to count the number of stuns and roots on both sides of the aisle. If the enemy team has at least two more stuns than you do, it’s traditionally not in your best interest to fight at the beginning of the game.
Without Cleanse, which isn’t a part of the conversation until level 7, it is difficult to survive against a team with crowd control and burst. Therefore, the trend of playing double Support is considered weak in the early game.
“Cleanse is a get-out-of-jail-free card,” Udall said. “However, if you don’t have Cleanse yet and the enemy team has a composition tailored for securing kills, you will lose the level 1 fight. You’re not going to out-sustain a level 1 team fight because the enemy can just disengage. Double Support is pretty fragile in this respect.”
Displacement, Crowd Control, and Burst
These are the three major factors that need to be taken into consideration when you’re looking to contest the vision on Sky Temple or fight in the mid lane on Dragon Shire or Tomb of the Spider Queen—Battlegrounds where brawling early is a relatively meta affair.
“The reason pro teams go five versus five early on Dragon and Tomb is because it gives you wave clear advantage,” Udall said. “You have the rotation advantage to go either top or bottom depending on what you want to do. The enemy must leave one person to catch the wave if you’re successful in the initial skirmish.”
What about in Hero League, though? Udall warns that without coordination, fighting early could spell disaster.
“The standard in Hero league is to just run it down mid” Udall said. “I always tell people not to fight because the upside is pretty low. Why give your opponent that opportunity? What if it doesn’t go your way and you start the game down three heroes and two lanes of soak … that is nearly a full level lost.”
Obviously, Udall says, don’t be afraid to lead by example and take matters into your own hands: “If you have good wave clear, you can just go to the offlane and clear the wave yourself. Even if you do lose a hero or two in midlane, if the opponent loses top wave you still come out close to even in experience.”
Mechanics aside, there is a relatively scientific method here to determine the probability of emerging victorious from a level 1 fight. So, the next time you want to run mindlessly to mid, take a moment to consider what you’re up against and what you’re working with—it could easily mean the difference between a comfortable lead or a hard trek back to even footing.
Check back in tomorrow right here at playheroes.com/esports when we dive into the finer details of pushing a tower before the opposing team can respond.
Opening Moves: Plotting Out the Matchup

For the rest of StarCraft II’s Opening Moves Week, check out the previous article on map vetoes.
Once the map vetoes are decided, there’s still one very important aspect of the match to consider. StarCraft II has three possible races that players can play, and they all have very different styles. Every time a pro enters a match, they have a lot of things to consider. Mikolaj “Elazer” Ogonowski and Sean “Probe” Kempen have some details to share on their process.
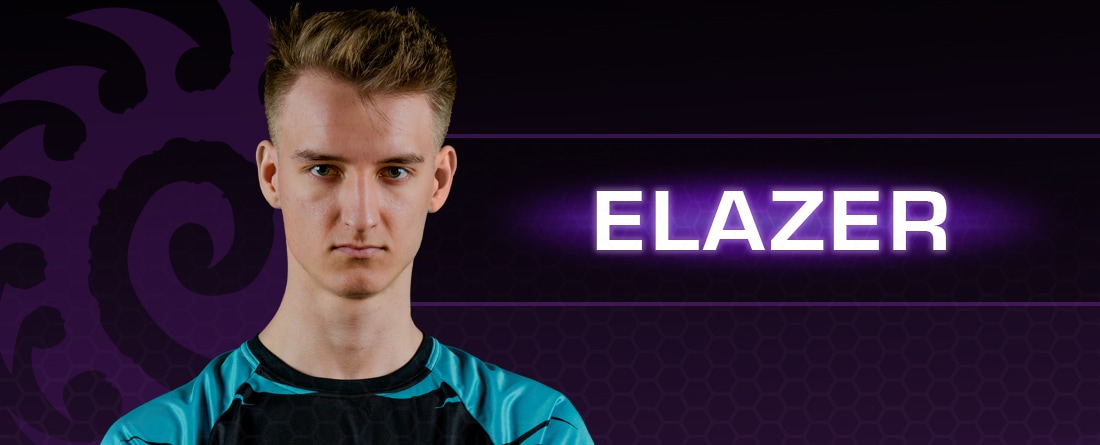
„Each time a new map comes out, I look into a couple things. If it’s against Terran or Protoss, I search where I can or should send my overlords first to get good early scouting done. If there’s a cliff that a reaper can jump up to get to my main, I’ll always have units there so I don’t get surprised by it.“
„In Zerg versus Zerg, you should also look if your natural base can be walled off easily in the early game. If you can wall it with three buildings without any Creep Tumors, then you should look into opening with no Zergling speed and go straight into Roaches.“
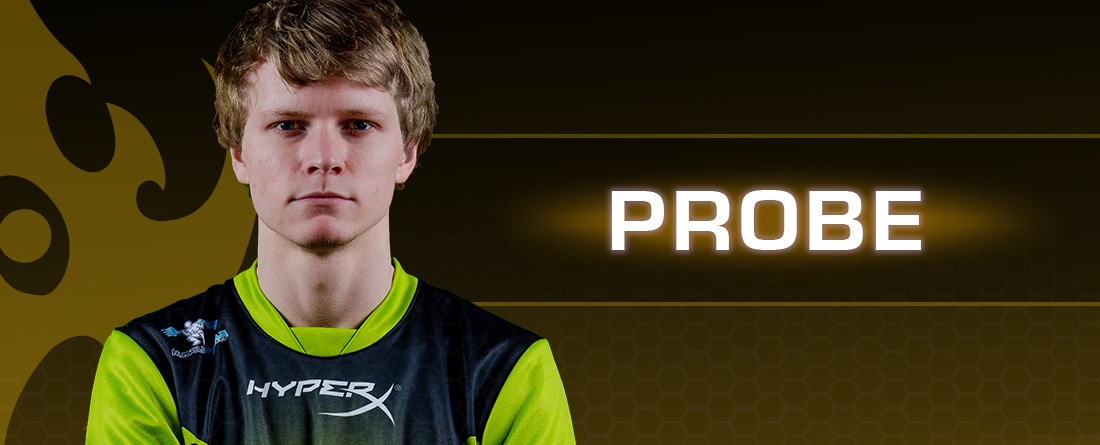
„In terms of Protoss, there are a few things I look out for. Firstly, for Protoss versus Zerg, I look at the natural base and see if it is easily wallable. Most maps are fine with this, but occasionally you get difficult ones (like Battle on the Boardwalk this season), which favor the Zerg player. Next, I look to see how easy the third base is to defend. This is a combination of how far away it is, if there are choke points at it to use force fields, or if it is wide open and hard to defend against a big surround. Then finally I look to see the drop paths on the map. A typical map will have 2 drop paths, so any more than three and it can be hard for Protoss against Terran.
In the next installment of Opening Moves, we’ll take a look at what goes into the decision to cheese or not to cheese.
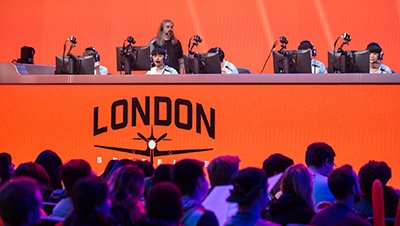
Opening Moves: London’s Lunar-Colony Lockout
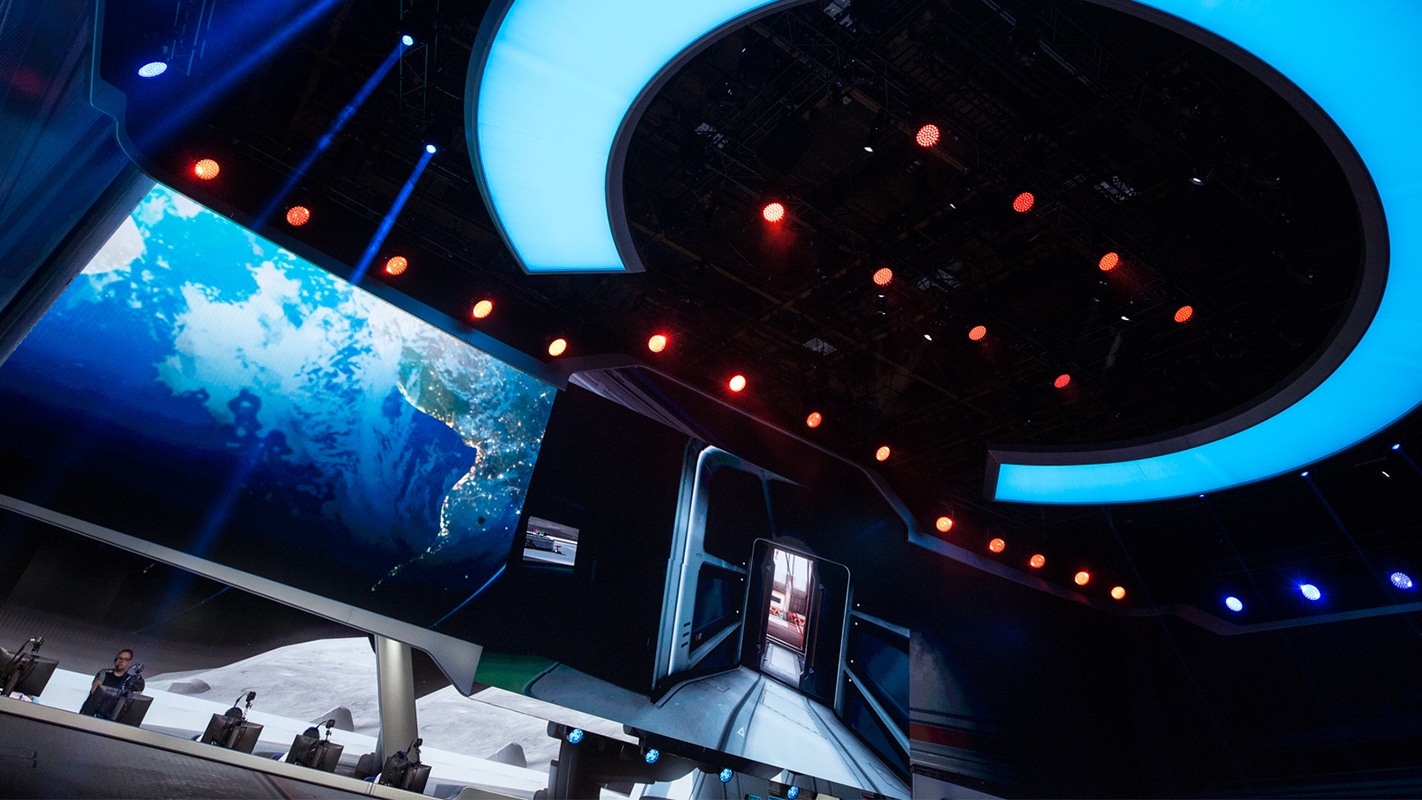
If you happened to watch the London Spitfire take on the Philadelphia Fusion on the first weekend of the Overwatch League, and you happened to catch the Horizon Lunar Colony round, you would have seen arguably one of the most definitive, air-tight defenses put on display at Blizzard Arena thus far.
The ingredients to a perfect Horizon defense: Roadhog, Orisa, Junkrat, Widowmaker, Zenyatta, and Mercy. Mix on the balcony. Add shields, hooks, and Mercy boosts on the Junkrat. Mix well.
“It’s solid overall,” said London Spitfire coach Beom-Joon “Bishop” Lee. “It has answers to everything. I’m pretty sure every team has been using that specific comp on Horizon defense without any variance.”
It’s the go-to composition for defense on Horizon, to be sure, but it was a perfect storm of circumstances that made it so effective for the Spitfire against Philadelphia.
“We look at their lineup and we see Carpe and ShaDowBurn,” Bishop said. “Now, they don’t quite have the flexibility other teams have, and so we were able to easily predict that they would go with Genji-Tracer, or a Tracer-Widow, or a Widow-Genji type of composition. It was a lot of limited compositions that they had, which is why we were confidently able to bring out the classic Orisa-Roadhog-Junkrat composition.
Because the Spitfire were expecting a DPS duo of limited variance, coach Bishop was confident that Ji-Hyeok „Birdring“ Kim on Widowmaker and Jun-Young „Profit“ Park on Junkrat would provide an excellent counter in the form of headshots and a storm of boosted explosives.
“We tried our best to essentially create a huge obstacle course for their DPS players to get past,” Bishop said. It proved successful, with Philadelphia looking hesitant to make an initial engagement. The Fusion eventually threw a Winston and D.Va into their composition, which did not surprise the Spitfire.
“We were fully prepared for that,” Bishop said. “We were really expecting that the tanks would come in from the beginning, but they didn’t. After that, we were able to get RIP-Tire up. Profit did a good job of using [it] to catch everyone.”
Bishop was confident that there wasn’t much Philadelphia could’ve done to defeat his roster on Horizon, due to the Fusion’s limitations, but that doesn’t mean the defense is impossible to overcome.
“The best they could have done was possibly drop a tank and have three DPS run for the point, see if anyone can get past,” he said. “I think the map wasn’t very friendly for them. Genji-Tracer just does not work very well on that map—too strong of a chokepoint to get past. That’s why, as soon as we came to America, we started developing a Sombra tactic to really get past whatever.”
The other strategy teams such as NYXL are adapting is quad-tank, boosted by Moira and Lucio. Bishop describes the thought process as: “They’re like, ‘Let’s just get past their chokepoint! This chokepoint is a nightmare!’”
For now, at least, Bishop is pleased with how his team is approaching defense on the moon map. “Even if you do lose the first point, you’ll be holding off at least one or two attacks,” he said. “So far, we haven’t experimented with any other compositions. If something’s working, don’t try and fix it.”