Opening Moves: Die dritte Welle mit Blogeinträgen

Nachdem die Mitarbeiter von Blizzard Entertainment in den vergangenen Tagen bereits eine Reihe von Blogeinträgen aus ihrem neuen Projekt „Opening Moves“ auf ihren verschiedenen Communityseiten veröffentlichten, folgte im Verlauf des gestrigen Abends nun die mittlerweile schon dritte Welle mit Artikeln dieser Art. Diese ebenfalls wieder auf den Tipps von professionalen Spielern basierenden Beiträge aus der neuesten Welle sollen die Community weiterhin mit den eSports-Szenen dieses Entwicklerstudios vertraut machen und ihnen gleichzeitig bestimmte Aspekte der einzelnen Titel zumindest ein wenig näher bringen. Wer dieses Projekt bisher aktiv verfolgt hat und sich für diese informative Reihe von Artikeln interessiert, der kann sich folgend praktischerweise alle Blogeinträge aus der dritten Welle dieser Serie nacheinander durchlesen.
Die gestrigen Artikel aus der Reihe „Opening Moves“ drehten sich um die folgenden Themen:
- Hearthstone: Der Mulligan
- World of Warcraft: Mit Abklingzeiten umgehen
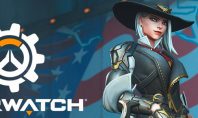
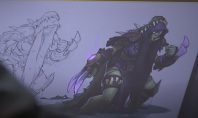
- Overwatch: Das Angreifen in Junkertown
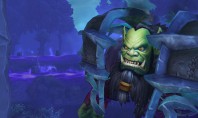
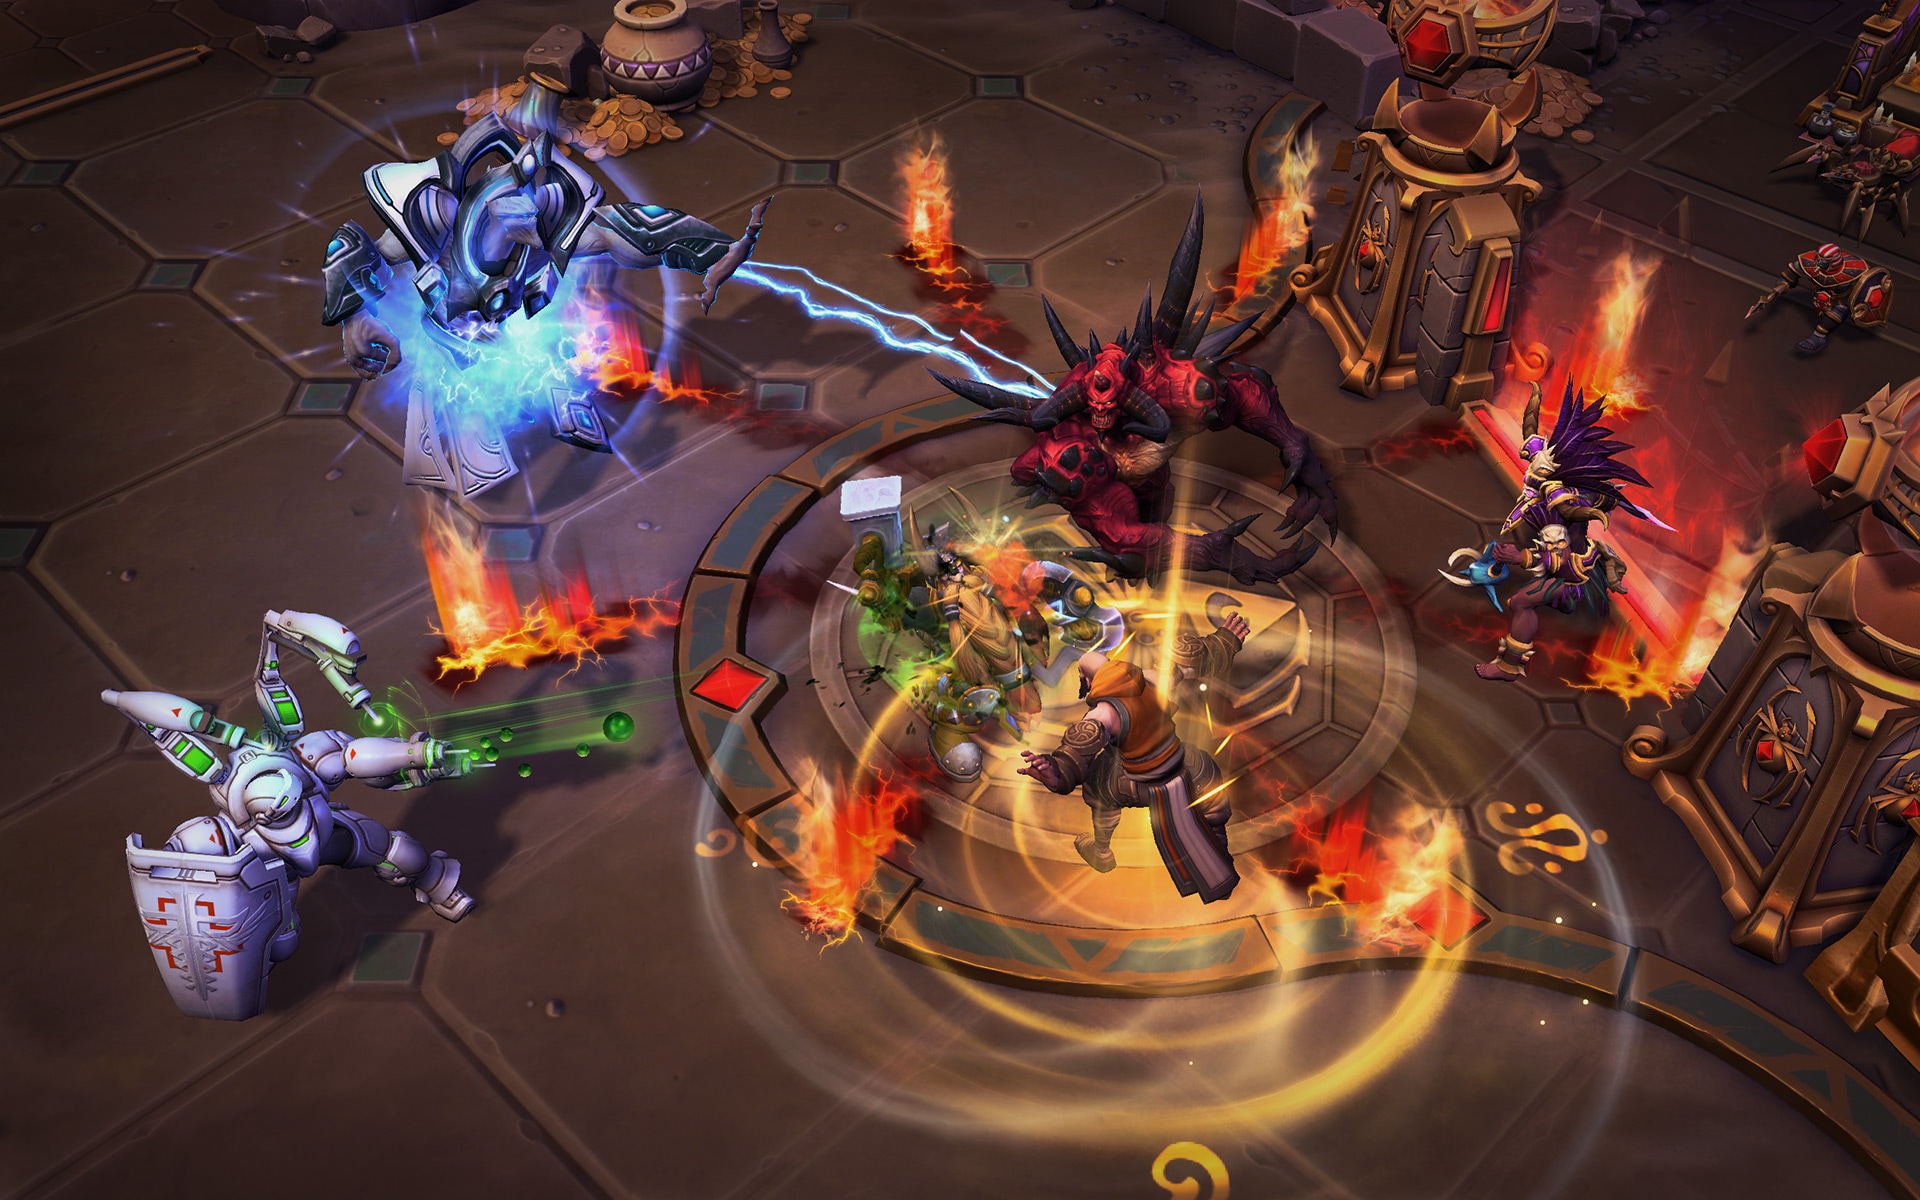
- Heroes of the Storm: Einen Turm als Team Zerstören
- Starcraft 2: Cheese Taktiken
Opening Moves: Mulligans

Now that we’ve identified our win condition and filled in our deck around it, we’re finally ready to take on an opponent. To do that, we need to learn the ins and outs of how to correctly mulligan cards for our opening hand.
If you’ve played Hearthstone, you already know that how many cards you are offered in your mulligan is determined by whether you’re going first or second. Players going first get three cards in their opening hand (and draw a fourth as their first turn starts), while the player going second gets four cards (plus The Coin). Before play begins, each player can shuffle any number of the cards they were initially dealt back into their deck for a chance at something different. What you keep or throw back depends on multiple variables, but there are some general rules of thumb worth keeping in mind.
Mulligan Advice
Take your time, and think through the matchup carefully. What cards set you up for the best early game, and which cards are such a huge swing that keeping them in the opening hand is right—even though you may not play them in the first few turns?
Throwing back your entire hand is always risky, so until you’re comfortable with the ins and outs of piloting your deck after many games, holding on to at least one card that you’re offered can be a good idea. This becomes less of an issue in aggressive decks, where you really want to get early game plays, but it can be practical to use as a starting point if you’re playing a combo-style or control deck, where you could accidentally end up with a starting hand of all late-game cards.
You’ll also want to mulligan differently based on what you’re up against. If you are playing a Zoo Warlock deck (that runs a lot of low-cost minions, looking to end games quickly), your mulligan strategy against a Druid opponent might vary based on whether you think they’re playing an Aggro Druid or a late game Druid style. Against the former, you need to make sure you can contest the board and get efficient early game trades; against the latter, you’d rather have cards that can snowball and get more value over multiple turns, like Darkshire Councilman.
The best advice you’ll ever get regarding mulligans is just to keep practicing. The more games you play, the better you’ll become at navigating your own deck, as well as knowing what types of decks you’re up against when you face the different classes! Hang in there for Day 4, when it’s time for us to decide on our early game strategy.
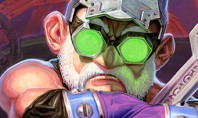
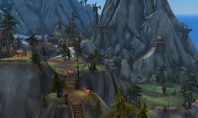
Opening Moves: Balancing the Cooldown Equation
 This is the third article our Opening Moves series, where we talk to World of Warcraft esports pros about the metagame and strategy behind the beginning of every match. Read part two here.
Once the gates have opened and the target’s been called, the fighting begins! Swords clash, spells fly, the competing teams test each others’ mettle, as well as their own. But this initial skirmish isn’t just about trading blows—it’s about trading cooldowns.
Each player has a variety of defensive and offensive ability cooldowns, determined by their class, specialization, and talent choices. Offensive cooldowns can increase a player’s burst-damage output, while defensive cooldowns save lives by greatly reducing damage taken, allowing players to stay in the fight. These cooldowns are only available every one to two minutes, however, so timing is key.
It’s important to think about cooldowns collectively: what’s available to your team, and what’s available to your opponents? As your team gains more experience, you’ll begin to realize what you’re capable of in terms of dealing and taking damage, and how to best rotate your cooldowns.
Why Cooldown Management Matters
To learn why cooldown management is so important, we asked Jason “Pika” Smith, one of the most infamous Rogue players in the World of Warcraft Arena scene, to describe his worst-case scenarios for a match opening.
“If you try to all-in someone by popping all your offensive cooldowns, and you don’t even draw out a defensive cooldown, the other team will have the upper hand,” said Jason “Pika” Smith. “Inversely, if another team opens up on you and forces all your team’s defensive cooldowns, you’re pretty much guaranteed to die.”
In both of these scenarios, the “cooldown equation” between the competing teams becomes quickly imbalanced. “A common mistake that teams make is panicking and overlapping cooldowns unnecessarily, which puts them behind for the rest of the match”, Pika added. Be sure to communicate with your team to avoid using two cooldowns where one would have sufficed!
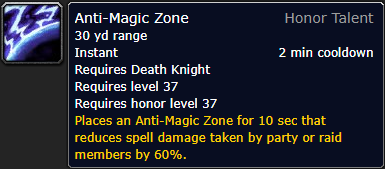
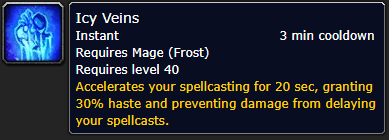
One of your most useful tools in making the right decision in these cases is game knowledge. The better you understand your opponents’ cooldowns, the more efficiently your team can theirs. “Many cooldowns and abilities have very schematic responses,” Alex “Alec” Sheldrick observed. “For example, if a Mage casts Icy Veins, a Death Knight should trade their Anti-Magic Zone to protect their team because those two abilities have similar cooldown lengths.”
Keep Them Guessing
However, not every decision you make should be automatic, Alec says. “I try to make my opponents less comfortable by playing in ways they might not expect. For example, many Mages use Invisibility for a stronger opening; however, I use it as a defensive ability so that my team can play to win by attrition—not by brute force.”
“Most people use their abilities in the same way, but I encourage you to ‘break the meta’ and experiment. Grow your own comfort zone, and focus on putting your enemies out of theirs.” – Alec
Though complex, cooldown management isn’t quite calculus, so keep practicing, keep experimenting, and stay tuned for the next entry into our Opening Moves series, where we’ll discuss reacting to the moment with professional World of Warcraft Arena players to help level up your play.
Opening Moves: Navigating the Pirate Ship

Previously in the Opening Moves series, we examined Fragi’s freakishly quick Earthshatter and delved into London’s unbreakable Horizon Lunar Colony defense.
„Stick Bastion on the ship, and he has fun shooting the entire enemy team down.“
That’s how Dallas Fuel flex Brandon „Seagull“ Larned summed up the Pirate Ship strategy that most Overwatch League teams have embraced on attack for Junkertown. The map—with its dearth of high-ground options around the initial choke point, and wide-open terrain leading up to the first checkpoint— favors the attacking team if they can scout the defending team’s positioning early and get their Bastion-Orisa combination set up on the payload.
Seagull and the Fuel opened the first Junkertown map of the regular season with a textbook execution of the strategy, using Orisa’s Halt! ability to draw out the opposing Winston from his spot behind a staircase before Roadhog’s Chain Hook pulled him in for a quick first kill. Most attacking teams also have adoped a dual sniper setup with Widowmaker, who can take advantage of the map’s sightlines, and Hanzo, who can deal a ton of damage to defending tanks while providing value right out of the spawn room.
„[As Hanzo,] you can Sonic [Arrow] the left room, or just any general flank, and immediately you get to see where the enemy team is setting up,“ said Seagull, who’s known for his mastery of the Hero. „If you Sonic the front of the normal, traditional hold spot and you don’t see anyone, you’re like, ‚Okay, this is awfully suspicious, something is going on.'“
Once Bastion settles on the payload, he’s notoriously difficult to dislodge without committing multiple players to a dive and risking being caught by the halt-and-hook. But it’s not necessarily smooth sailing for him the whole way through the first phase.
„Usually where teams get stuck is around the second bridge, when the payload gets moved into the choke point,“ Seagull said. „If the Bastion decides to stay on the cart as it goes around the last bend, he’s going to get picked because the enemy team can be right on top of him and completely surround him. So Bastion has to get off the cart at certain times to make sure he can shoot and not just die.“

Still, if attacking teams can deal with that danger area, the Pirate Ship strategy usually can sustain its momentum—a huge factor on escort maps—into the second phase, where Bastion can continue to be a powerful presence, both on top of the payload and on the high ground.
On the flip side, stopping teams from steamrolling through the first two checkpoints is a big deal on Junkertown, given how difficult it can be for attacking sides to navigate the final U-bend. One team that has shown some creativity in its stall game is the Los Angeles Gladiators, who have taken different initial defensive positions all three times they’ve played the map, including spawn-camping the London Spitfire during preseason.
While Gladiators head coach David „Dpei“ Pei didn’t want to get into specific strategies, he stressed the importance of halting early momentum on Junkertown.
„In every map you have defense break points,“ Pei said. „If you get a stop here, that means you get the next stop, and then the next, and that transitions throughout the map. How you play your first defense is very important, as far as how you play the rest. I think we have a good understanding [of Junkertown], at least on this patch.“
He added, „Just being unpredictable [on defense] isn’t good, because teams will have hundreds of hours of scrim experience on Junkertown by midseason, right? They would have seen every weird thing that you could see. London speed-boosts under the first bridge and just runs at you, and that’s good, it stops the Bastion from setting up. Cheeses don’t always work, so we’re trying to find stable strategies.“
Tomorrow’s Opening Moves story takes a look at the Gladiators’ successful defense on Dorado (another escort map), thanks to a relatively unusual hero pick.
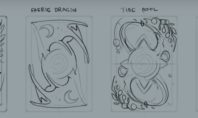
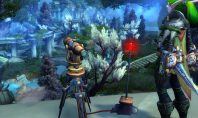
Opening Moves: When, Where, and Why You Should Cheese a Tower Early
We’ve gone over the Level 1 fight and the 4-1 split so far during #OpeningMoves week, and now it’s time to explore the world of cheese.
“Cheesing a tower” is just a simple label for the strategy in which the majority of a team runs at an enemy tower as soon as the gates go down and pushes relentlessly.
The Basics
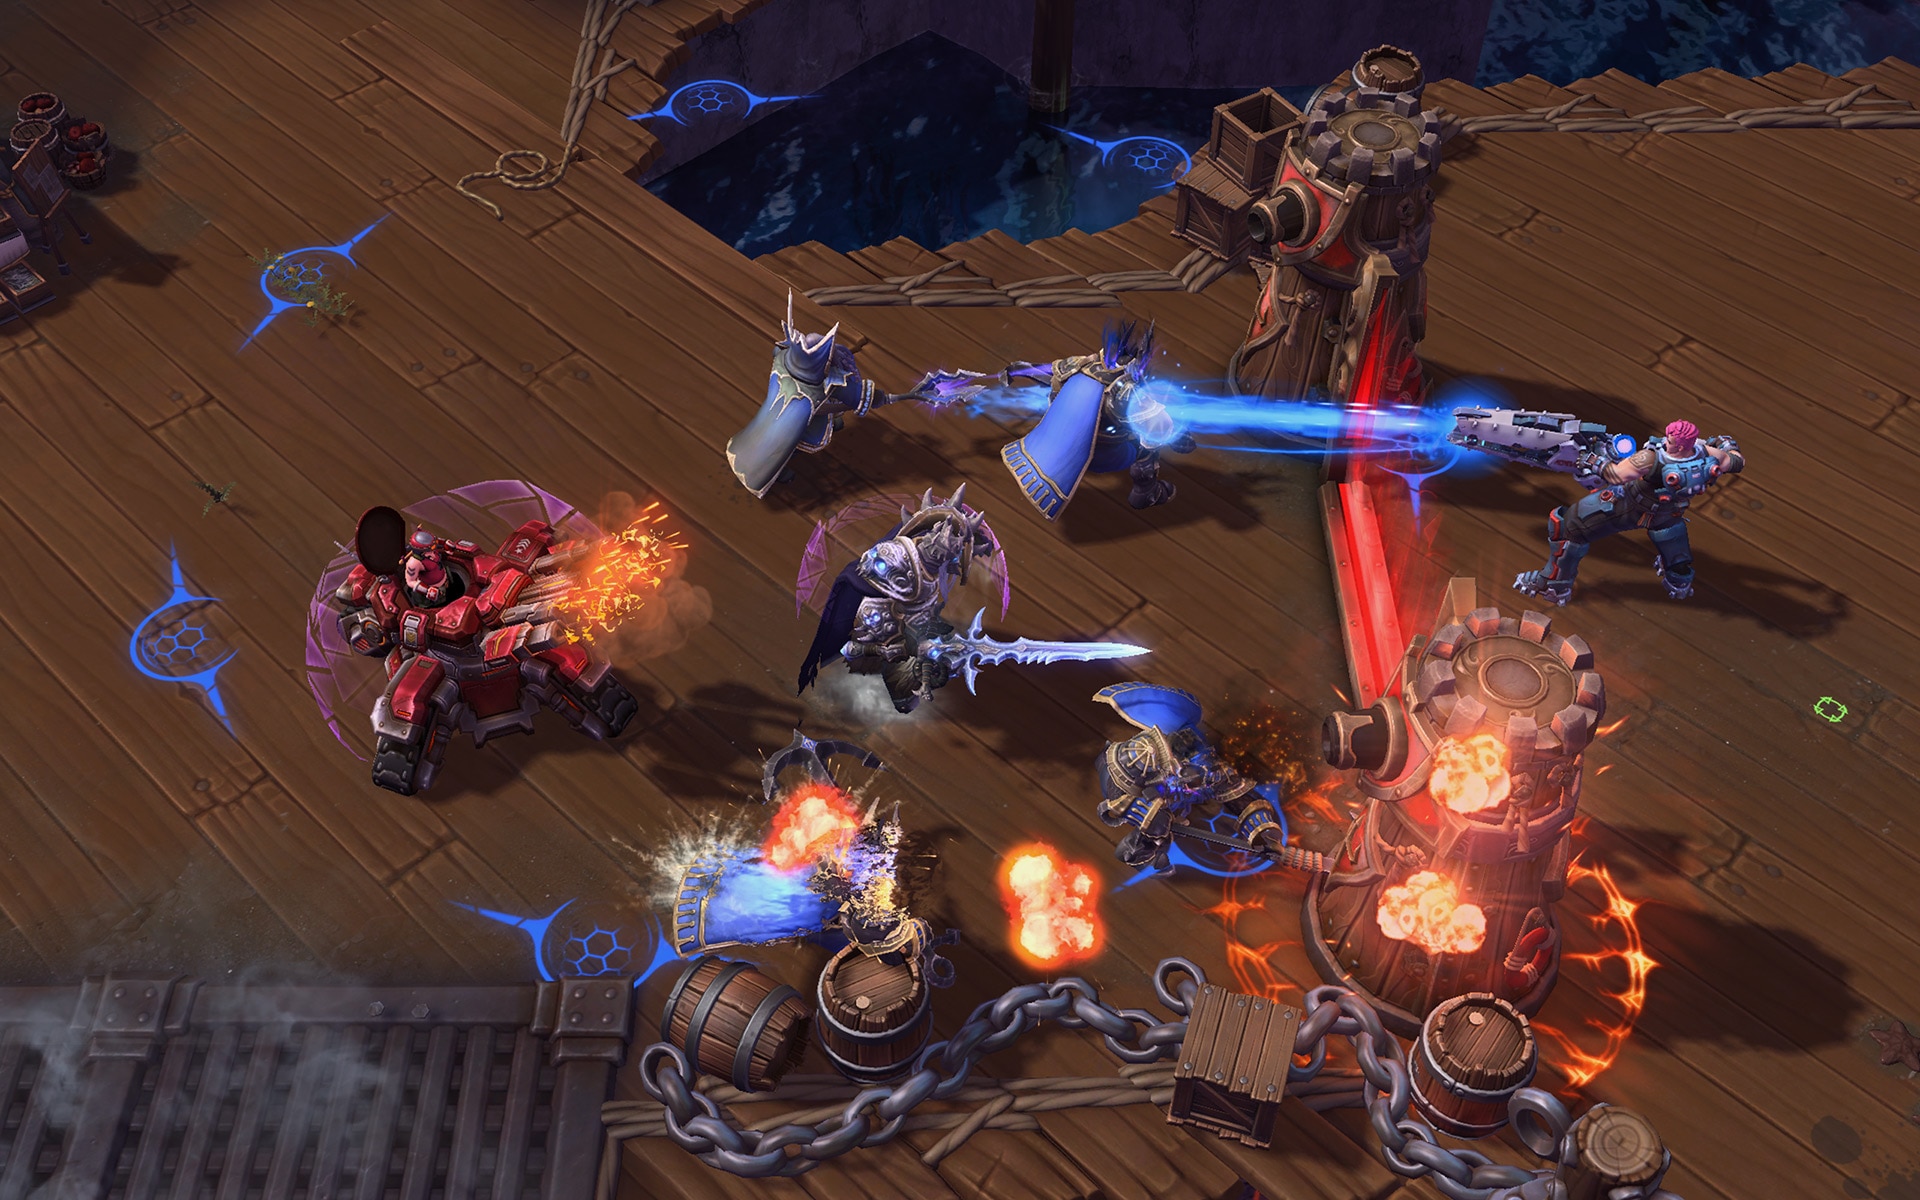
 The key to pulling this strategy off without dying is to know when to retreat. Method’s melee assassin, Liam “Arcaner” Simpson, claims that the best heroes to execute a level 1 push with are Greymane, Kharazim, Rehgar, Anub’arak, and E.T.C.—at least in the current meta. These heroes have a high damage output and a means of escape when the time comes to flee.
“It all depends on the how easy it is for you to recover in terms of your lane setup,” he said. “If you’re committing a lot of people to bot lane, can you recover to soak top and mid?”
At the highest level of play, every bit of soak matters. Even missing a few minions here or there usually warrants acknowledgment in team comms. The idea of missing soak seems mad for some players, but for those who have done the math, it’s a perfectly sane approach.
“It is far more valuable to be pushing structures compared to soaking a few extra minions or looking for kills,” Arcaner said. “My team is always shotcalling to push towers or look for a kill or do something that will guarantee a snowball into level 10.“
Before you go tower diving, a word of caution—it’s only beneficial on a handful of Battlegrounds. On Cursed Hollow, for instance, if you push bottom or top lane early you are creating more space for the Boss to wreak havoc. The same can be said for Battlefield of Eternity.
“The team that pushes before the second Immortal spawns on Battlefield of Eternity will likely be hitting on a Keep first,” Arcaner said. “The bigger the map the safer it is to tower push, unless the opposing team predicts where you will push towers, they will not be able to rotate in time to save a tower – this is why you dont see tower cheesing on small maps like Tomb of the Spider Queen.“
How to Respond
 Typically, at least at the pro level, the response is to trade and begin pushing as hard as you can yourself.
“You want to stay even in experience,” Arcaner said. “Most of the time, the reason why people trade push instead of counter-engaging is because they’re not close enough to counter-pressure. Let’s say you’re all mid-lane on Cursed Hollow and the enemy team is pushing top. The best shot call is just to push mid towers because by the time you get to top they’re going to have taken a front wall, and you get nothing out of it besides denying them a further advantage.”
One of the major reasons that trading is important is because when you start losing structures you start losing a safe path for rotations between lanes, which can throw a wrench in the plans of any composition that is heavily based on roaming and ganking. When you lose a structure, what you are really losing is the vision it provides.
The Specifics
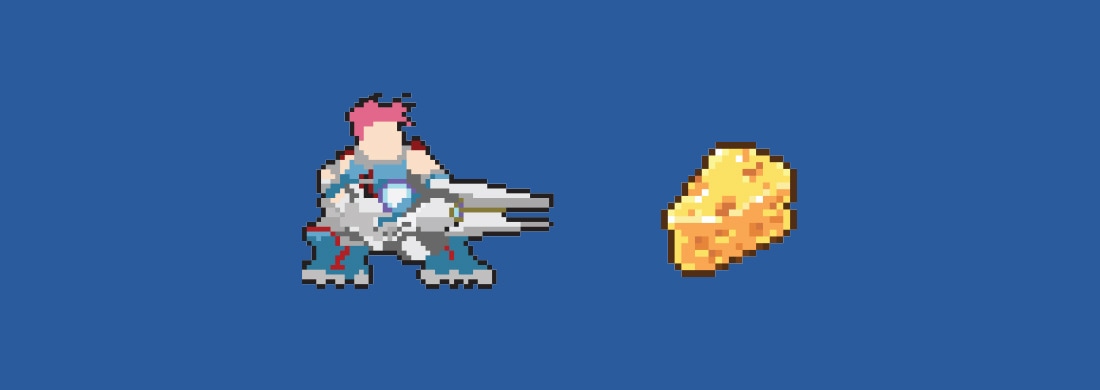
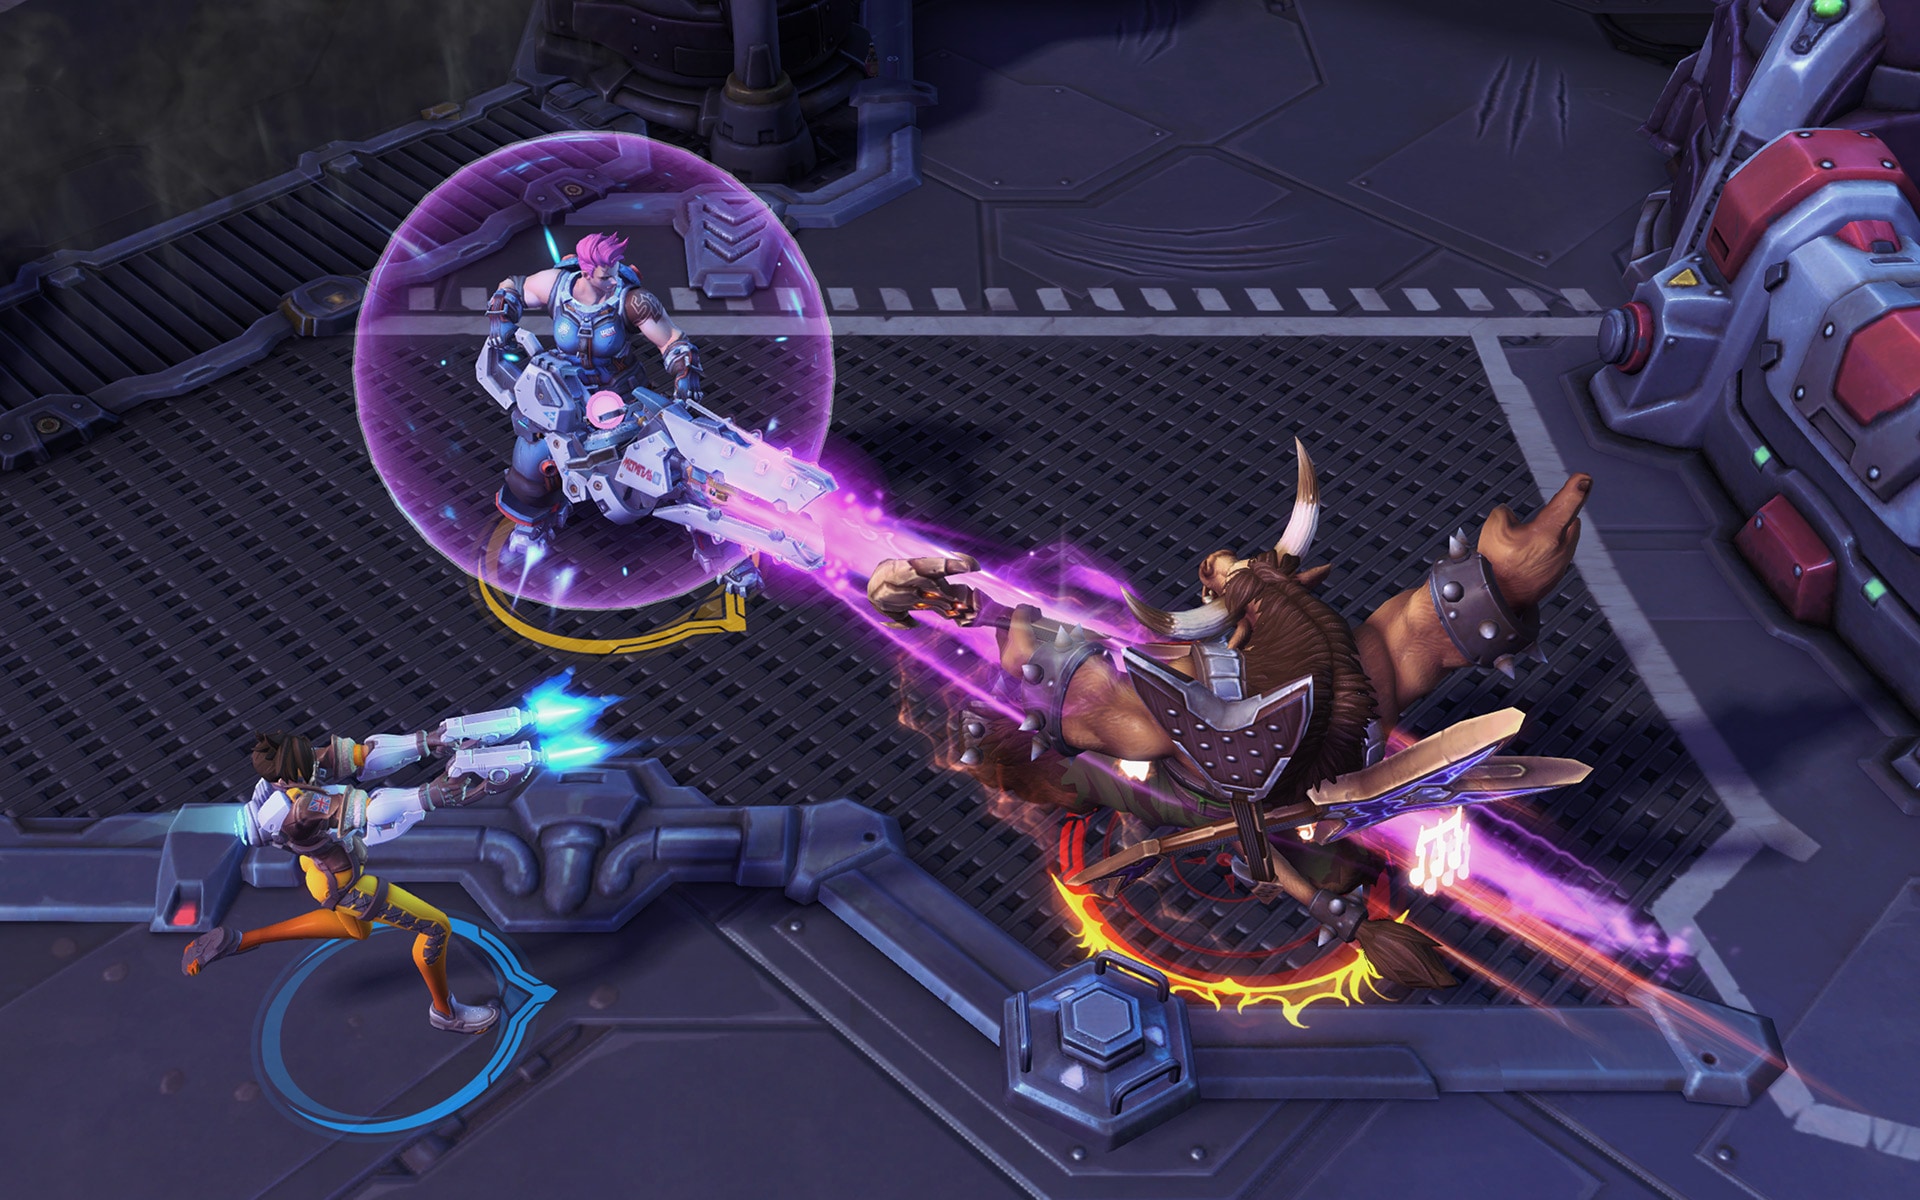 One of the most popular current strategies to run puts Zarya in the driver’s seat, with the help of Lt. Morales or other Heroes that mitigate damage easily.
“It’s a pretty scary strategy to play against,” Arcaner said. “Teams run Zarya as a solo warrior and just push so hard. Typically, they’ll have a global like The Lost Vikings or Dehaka to make up for the lost soak. It’s hard to punish.”
You’ll notice that Specialists have been absent for most of the conversation. While there are plenty of Specialist heroes that want to siege to their hearts content, Arcaner urges players to reconsider. Most Specialists have very few means of escape, and it’s likely that there is a better option for this particular strategy.
“Typically, you would take a Hero like Anub’arak for this strategy instead of a Specialist,” he explained. “Take Sylvanas, for instance—she doesn’t have a very high damage output, and the only real reason you would pick her in the current meta is for her ability to disable structures. However, when you have an Anub’arak, Medic, or Zarya, you aren’t worried about taking damage from towers or forts because you have the means to mitigate it.”
The next time you go for an early push strat, try to look past the low-hanging fruit. The Heroes that have a means of escape and high damage output play a pivotal role in sieging, especially when paired with a global Hero that can make up for lost soak—just be prepared to run when the time is right.
Tomorrow for #OpeningMoves week right here at playheroes.com/esports, Simon „scHwimpi“ Svensson drops some knowledge bombs about the traditional (and rather baseless) strategy of running mid with your teammates as soon as the gates go down.
Opening Moves: Getting Cheesy
For the rest of StarCraft II’s Opening Moves Week, check out the previous articles on map vetoes and racial planning.
When looking at a professional match of StarCraft II at a high level, games typically lean toward either an early, aggressive strategy or a longer, economic struggle. In games where early aggression is the order of the day, it’s possible to see these players employ an infamous “cheese” strategy. This mostly refers to all-in tactics that are devastating for the opponent if they succeed, but equally devastating for the instigator if they fail. We asked Kevin “Qxc” Riley, Mikolaj “Elazer” Ogonowski, and Sean “Probe” Kempen their thoughts on cheese, when they use it, and how they get the necessary value when they do go all in.
„Cheese is generally defined as a specific build that doesn’t have a broader application. It’s a large risk, because if predicted or scouted in time, they tend to fall flat. The biggest factor when deciding to cheese is the player you’re up against, followed very closely by the map. Obviously, matchup matters, but there are always viable cheese builds in every matchup. The most important thing to understand with cheese builds is this: StarCraft is an incredibly complicated game. So complicated that there is always a counter-build. What that means is if a player has perfect information of their opponent’s build, they can always create a build that gives them an advantage.“
„Make no mistake, a cheese build doesn’t need to be militarily aggressive, but it is almost always an aggressive play of some kind. Sometimes that means going a fast third base, which is a sort of economic cheese. At high levels of play, the ability to deny scouting and control the tempo of the game is also an important factor. You can transition from one cheese into a tech path or another build order while controlling your opponent’s moves and making it hard for them to scout. When playing against certain players, you’ll definitely hedge toward them doing something weird. That means avoiding economic cheese, making sure to scout every game, and favoring safer builds. Each cheese is different and requires a specific response. That’s kind of the defining feature of cheese. If it could be broadly countered, it wouldn’t be cheese, but rather just aggressive standard play.“
„I like to play something different in each game, or at least not repeat myself more than twice during one series. Before a match, I watch some of my opponent’s recent games and try to plan what would be a good strategy against what he usually does. Obviously, maps play a huge role into what you can and cannot do. When you get a map as big as Neon Violet, you know a cheese like a Queen and Zergling drop won’t work as well as on a map like Battle on the Boardwalk, just because of the distance. Something like Nydus Worm or proxy Hatchery would work very similarly, though. So when I come into match like this, I usually have my repertoire of strategies prepared and just plan what order and on which maps I am going to play them.“
„Also map score and the way the series is going pays quite a huge role at the top level. When you are up 2-0 in a best-of-five, you know you can start playing extremely greedy just because your opponent is on their last life and has no room to take a risk. Or when you win a very long macro game in the first game, maybe it’s time to go with the momentum and go for the fastest cheap-win strategy you can think of. I am quite sure if you watch top-level StarCraft II, this is what you are going to see all the time.“
„My general playstyle is to play longer macro games with lots of timings thrown in to gain advantages as the game moves forward. Against people worse than me, this works really well because I will often gain many advantages and just win eventually with a bigger army. However, against strong opponents, my mindset will change slightly to go a bit more all-in and win the game as quickly as possible, not allowing them to get back into it later. Also, if I don’t want to play on a particular map, usually a cheeky Protoss cheese or all-in will be strong there, so that impacts my decision-making.“
In the next installment of Opening Moves, we’ll take a look at how our pros set up their tower defense.